
SUNTAMAH.COM– Windows 11 is the latest operating system from Microsoft that comes with a lot of new features and enhancements to improve the user experience. One of the critical security features in Windows 11 is Secure Boot, which is designed to protect your computer from malware and other malicious software. In this article, we will discuss how to enable Secure Boot on Windows 11 to ensure that your computer is protected.
What is Secure Boot?
Secure Boot is a security feature that was introduced by Microsoft with Windows 8 and is now available in Windows 11. It is designed to ensure that the computer boots only from software that is trusted by the manufacturer. Secure Boot uses a digital signature to verify that the boot loader and operating system files are not tampered with or modified by malware or other malicious software.
When Secure Boot is enabled, the computer checks the digital signature of the boot loader and operating system files before loading them into memory. If the digital signature is valid, the computer continues to boot normally. However, if the digital signature is invalid, the computer will not load the software, and you will receive an error message.
Why Enable Secure Boot on Windows 11?
Enabling Secure Boot on Windows 11 is essential for several reasons. First, it protects your computer from malware and other malicious software that may attempt to modify the boot loader or operating system files. Second, it ensures that only trusted software is loaded into memory, which can prevent unauthorized access to your computer.
Enabling Secure Boot is also a requirement for some features in Windows 11, such as Virtualization-based security (VBS). VBS is a security feature that uses hardware virtualization to isolate critical operating system components from the rest of the system, which can provide additional protection against advanced threats.
How to Enable Secure Boot on Windows 11
Enabling Secure Boot on Windows 11 is a straightforward process. Here are the steps:
Step 1: Enter the BIOS or UEFI Settings
To enable Secure Boot on Windows 11, you need to enter the BIOS or UEFI settings of your computer. The process of entering the BIOS or UEFI settings varies from one computer manufacturer to another. However, the most common way is to press the F2, F10, or Delete key during bootup.
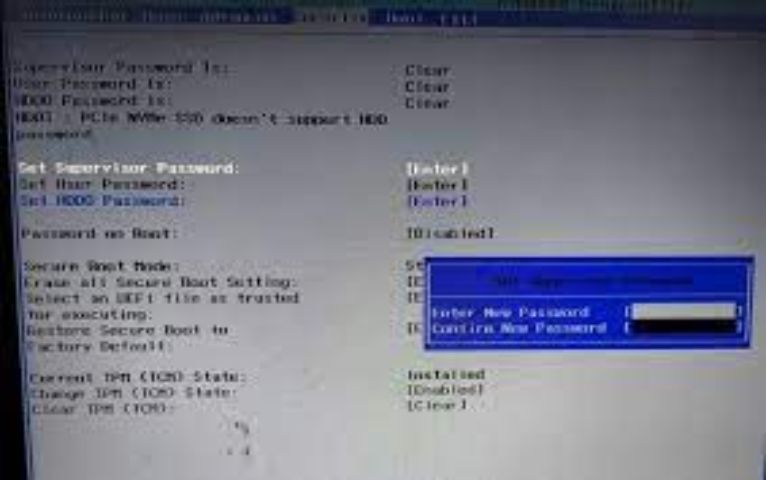
Step 2: Navigate to the Secure Boot Settings
Once you are in the BIOS or UEFI settings, you need to navigate to the Secure Boot settings. The location of the Secure Boot settings may vary depending on your computer manufacturer and model. However, you should be able to find it under the Boot, Security, or Authentication tab.
Step 3: Enable Secure Boot
After you have located the Secure Boot settings, you need to enable it. The process of enabling Secure Boot may vary depending on your computer manufacturer and model. However, you should be able to find an option to enable Secure Boot under the Secure Boot settings.
Step 4: Save and Exit the BIOS or UEFI Settings
Once you have enabled Secure Boot, you need to save and exit the BIOS or UEFI settings. To do this, look for the option to save and exit, or press the F10 key.
Step 5: Verify Secure Boot is Enabled
After you have saved and exited the BIOS or UEFI settings, you need to verify that Secure Boot is enabled. To do this, restart your computer and enter the BIOS or UEFI settings again. Navigate to the Secure Boot settings and look for an option that confirms that Secure Boot is enabled.
Conclusion
Enabling Secure Boot on Windows 11 is a critical security measure that can protect your computer from malware and other malicious software. By verifying that only trusted software is loaded into memory, Secure Boot can prevent unauthorized access to your computer and help safeguard your sensitive data.
In this article, we have discussed what Secure Boot is, why it is essential to enable it on Windows 11, and how to enable it step-by-step. However, it is worth noting that enabling Secure Boot may not be possible on all computers. Some older computers may not support Secure Boot, while others may require a firmware update or a specific configuration.
If you encounter any issues while enabling Secure Boot, we recommend consulting your computer manufacturer’s documentation or contacting their support team for assistance.
In conclusion, enabling Secure Boot on Windows 11 is a crucial step towards enhancing your computer’s security and protecting it from malicious attacks. By following the steps outlined in this article, you can enable Secure Boot on your Windows 11 computer and enjoy the peace of mind that comes with knowing that your computer is secure.